 Java Home Automation

This is panel is used to input new x10 modules. Click on a row on the table and the Device Detail panel will show detail information about the X10 module. To update the selected row, simply click the update button. If the selected row is to be deleted then click the delete button. Another method of deleting a selected item is using the mouse right click. This will bring up a pop up menu with a delete option. The add button will add the module to the table list.
The mouse right click pop up menu has additional options. Thes are to send an "on" or "off" command to the selected row item module.

This is panel is used to input programmed events. This also lists all of the programmed events that are run. In this way, we are able to program a series of actions to take place based on time of day and day of week. This is not a replacement for CM11A programable modules which can store macros and run them independent of a computer program. Events requires the program to be running in order for them to take place.

This is panel is used to monitor events that have occured and execute a specific action. This only works with the CM11A serial interface. Add the modules that are to be monitored and assign an action, which is either send out email notice, fire off an action on another module, run a program or script, or if the speech engine is enabled speak the text. The select from the menu bar Options -> CM11A Options -> Monitor CM11A. To delete monitoring of a module, then right click the mouse on a selected row of the monitoring table and select delete. The actions that the user wants to executed can also be run by selecting run from the right click menu. This helps to trouble shoot scripts that do not run.
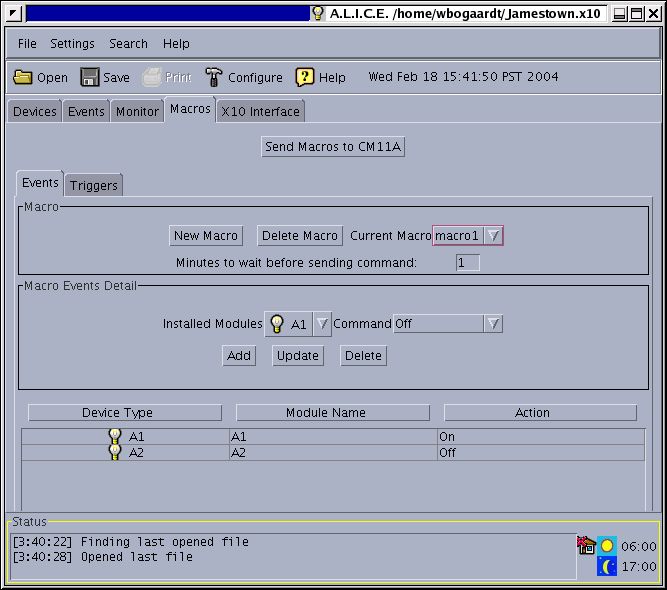
This is panel is used to input new CM11A macros. Macros must be entered first which are basically a series of actions. These macros are then initiated via the macro triggers(see macro trigger panel below).
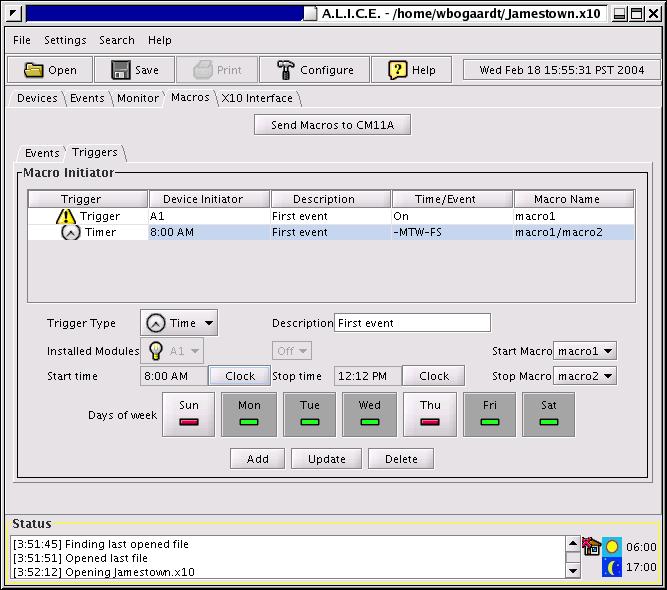
This panel is used to assign macros to appropriate triggers. A trigger can be either a certain time and date being met, or a designated X10 module being initiated. The trigger then runs the assigned macros. Special note that macros and macro triggers only work with the CM11A device and can run your house independent of the software once this information has been uploaded into the CM11A device. (See macro panel above).
The difference between a time based trigger and a detected event trigger is that the detected event trigger has the ability to only execut one macro. The time based trigger can run a macro and then initate another macro at the end of its time. The detail panel for a selected row will enable and disable the buttons according to the type of trigger the user has selected. So this takes out some of the guess work of what can and can not be done with the two trigger events.

